
 تويت
تويت
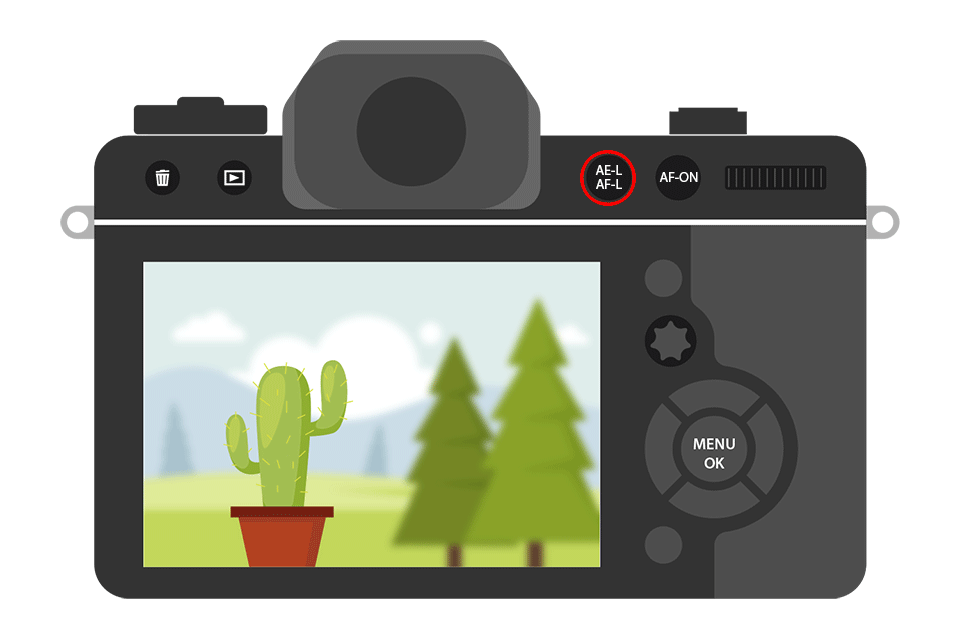
زر كاميرا نيكون AE-L / AF-L
Nikon AE-L / AF-L Button
سواء كنت تستخدم كاميرا DSLR أو كاميرا بدون مرآة، فقد يكون هناك زر خاص في الجزء الخلفي منها يسمى "AEL" أو "AE-L / AF-L" (في حالة Nikon) والذي يمكن أن يكون مفيدًا جدًا في العديد من الكاميرات. مواقف. سأشرح في هذه المقالة ما يفعله زر AE-L / AF-L، ومتى يجب استخدامه، وكيف يمكن دمجه مع أوضاع التركيز التلقائي المختلفة. سأوضح أيضًا كيف أستخدم هذا الزر شخصيًا في الكاميرات الخاصة بي عندما أقوم بإعدادها.

Whether you are using a DSLR or a mirrorless camera, the might be a special button on the back of it labeled “AEL” or “AE-L / AF-L” (in the case of Nikon) that can be quite useful in many situations. In this article, I will explain what the AE-L / AF-L button does, when it should be used, and how it can be combined with different autofocus modes. I will also demonstrate how I personally use this button on my cameras when I set them up.
تعليق