
 تويت
تويت
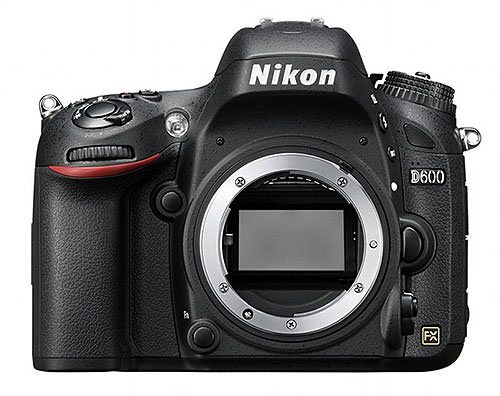
Recommended Nikon D600 / D610 Settings
إعدادات نيكون D600 / D610 الموصى بها
طلب مني أحد قرائنا مؤخرًا تقديم الإعدادات الخاصة بي من كاميرات Nikon D600 / D610 التي أستخدمها لتلبية احتياجات التصوير الفوتوغرافي الخاصة بي. بينما اعتقدت في البداية أنه طلب غريب، فقد جعلني أفكر في أن العديد من المصورين ربما يضيعون أثناء محاولتهم البحث في خيارات القائمة العديدة. وبما أنني كنت أقوم بالتصوير باستخدام Nikon لعدد من السنوات حتى الآن، فمن السهل جدًا بالنسبة لي أن أفهم هذه الإعدادات وأقوم بتطبيقها مرارًا وتكرارًا على كل كاميرا أعمل بها. في هذه المقالة، أريد تقديم بعض المعلومات حول الإعدادات التي أستخدمها وشرح باختصار ما تفعله بعض الإعدادات المهمة. يرجى أن تضع في اعتبارك أنه على الرغم من أن هذه الأمور تناسبني، إلا أن هذا لا يعني أنه يجب على الجميع التصوير بنفس الإعدادات تمامًا. يتم توفير المعلومات أدناه كدليل لأولئك الذين يعانون ويريدون فقط البدء بفهم أساسي لإعدادات القائمة.

One of our readers recently asked me to provide my settings from the Nikon D600 / D610 cameras that I use for my photography needs. While at first I thought that it was an odd request, it got me into thinking that many photographers probably get lost trying to dig through the many menu options. Since I have been shooting with Nikon for a number of years now, those settings are very easy for me to understand and I apply them over and over again for each camera that I work with. In this article, I want to provide some information on what settings I use and shortly explain what some of the important settings do. Please do keep in mind that while these work for me, it does not mean that everyone else should be shooting with exactly the same settings. The below information is provided as a guide for those that struggle and just want to get started with a basic understanding of menu settings.
تعليق