كيفية تغيير عدسات الكاميرا بأمان How to Change Camera Lenses Safely

تقليص
X
 
  • تصفية - فلترة
  • الوقت
  • عرض
إلغاء تحديد الكل
مشاركات جديدة

  • كيفية تغيير عدسات الكاميرا بأمان How to Change Camera Lenses Safely

    كيفية تغيير عدسات الكاميرا بأمان
    How to Change Camera Lenses Safely


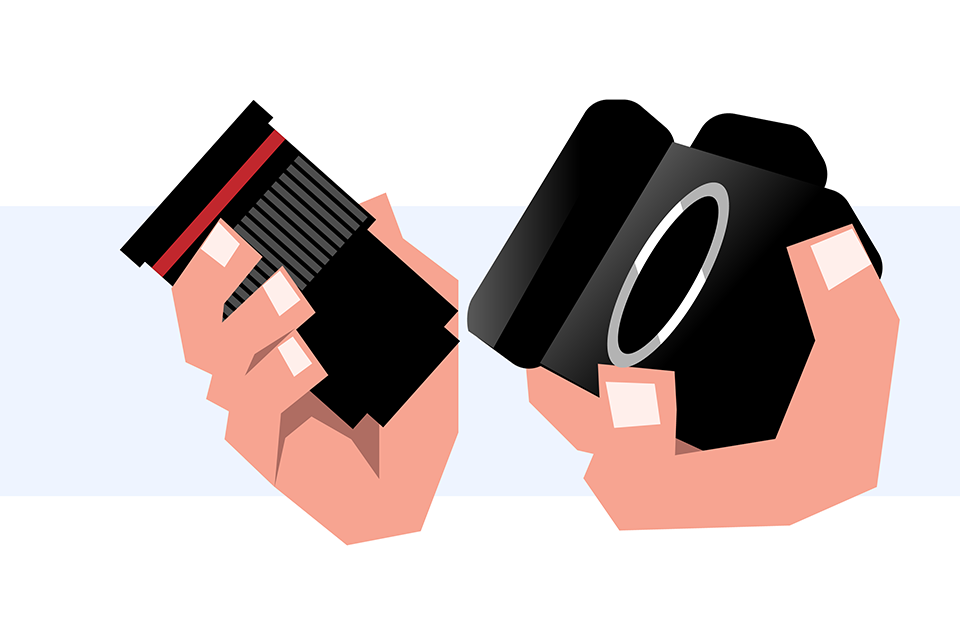
    قد يبدو تغيير عدسة الكاميرا أمرًا بسيطًا، ولكن هناك عددًا من أفضل الممارسات التي يمكن أن تقلل من المخاطر التي تتعرض لها معداتك، بالإضافة إلى تقليل كمية الغبار التي تدخل داخل الكاميرا. في هذا الدليل حول تبديل عدسات الكاميرا، سأقوم بشرح العملية خطوة بخطوة، وسأشارك بعض النصائح التي تعلمتها على طول الطريق.

    جدول المحتويات

    افهم بيئتك
    ابحث عن سطح جيد
    استعد لتغيير العدسة،
    قم بإزالة عدساتك الحالية،
    وقم بتبديل العدسات،
    وتأمين حقيبة الكاميرا الخاصة بك، نصائح إضافية،
    أحضر قطع الغيار،
    لا تتعجل في العملية،
    احمل كاميرا احتياطية


    Changing the lens on your camera might seem simple, but there are a number of best-practices that can reduce the risk to your gear, as well as cut down on the amount of dust that gets inside your camera. In this guide to swapping camera lenses, I’ll go step by step through the process, sharing some of the tips I’ve picked up along the way.

    Table of Contents

  • #2
    1. افهم بيئتك

    قبل أن تبدأ حتى في إزالة العدسة من الكاميرا، ضع في اعتبارك البيئة التي تتواجد فيها. بالنسبة لمعدات الكاميرا - أو أي عنصر إلكتروني حقًا - تأتي أكبر المخاطر من المياه المالحة، والرطوبة من أي نوع، والغبار.

    نعم، لقد اضطررت إلى تغيير العدسات في كل حالة من هذه الحالات في وقت ما، ولكني أغتنم كل فرصة ممكنة لتقليل تعرضي لها. إذا هطل المطر، سأختبئ تحت الغطاء قبل تغيير العدسات. إذا كان الجو عاصفًا، فسوف أضع ظهري للريح وأحمي معداتي قدر الإمكان. وعلى مقربة من المحيط، أمشي دائمًا بعيدًا عن الأمواج قدر الإمكان حتى لا يدخل الملح إلى الكاميرا.

    أما بالنسبة للمركبات، فهي عادة ما تكون مليئة بالكثير من الغبار. ولكن إذا كان الطقس سيئًا حقًا، أفضل تغيير العدسات في السيارة بدلاً من الخارج. حاول دائمًا تحديد المناطق البعيدة عن الريح والخالية من الغبار قدر الإمكان.


    1. Understand Your Environment


    Before you even begin to take the lens off your camera, consider the environment you’re in. For camera gear – or really any electronic item – the biggest risks come from salt water, moisture of any kind, and dust.

    Yes, I’ve had to change lenses in each of these conditions at some point, but I take every opportunity possible to reduce my exposure to them. If it’s raining, I’ll duck under cover before changing lenses. If it’s windy, I’ll put my back to the wind and shield my gear as much as possible. And by the ocean, I always walk as far away from the waves as possible so that salt doesn’t get in the camera.

    As for vehicles, they are usually filled with a lot of dust. But if the weather is really bad, I would rather change lenses in a car than outdoors. Always try to identify areas that are out of the wind and as free from dust as possible.

    تعليق


    • #3
      2. ابحث عن سطح جيد

      عادةً، عند تغيير العدسات، ستحتاج إلى سطح لتضع عليه أدواتك (مثل العدسة التي قمت بإزالتها للتو). وهذا أمر سهل في الداخل، حيث تكون الطاولة النظيفة مناسبة لهذا الغرض. يمكن أن يكون الأمر في الهواء الطلق أكثر صعوبة.

      مع الممارسة، يمكنك التوفيق بين يديك و/أو حقائبك لتغيير العدسات أثناء الوقوف - ولكن حتى مع الخبرة، هناك خطر سقوط شيء ما. عندما يكون ذلك ممكنًا، أحب العمل على سطح مخصص بدلاً من ذلك. إذا لم يكن هناك مرشح واضح مثل مقعد الحديقة في بيئتك، فكر في وضع حقيبة الكاميرا الخاصة بك على الأرض والتمرين عليها.


      2. Find a Good Surface


      Usually when changing lenses, you’ll need a surface to rest your gear upon (like the lens you just removed). This is easy indoors, where a clean table suits the purpose. Outdoors can be trickier.

      With practice, you can potentially juggle gear between your hands and/or bags to change lenses while standing – but even with experience, there’s the risk of dropping something. When possible, I like to work off a dedicated surface instead. If there is no obvious candidate like a park bench in your environment, consider placing your camera bag on the ground and working out of it.

      تعليق


      • #4
        3. الاستعداد لتغيير العدسة

        بمجرد تحقيق أقصى استفادة من البيئة المحيطة بك، فقد حان الوقت لإعداد العدسات التي ستقوم بتبديلها. يشير الطهاة المتميزون إلى هذه الخطوة باسم "mise en place" أو "الوضع في مكانه الصحيح".

        لتجهيز عدستك الجديدة، أوصي بوضعها بحيث يكون وجهها لأسفل بحيث يكون الجزء الأمامي من العدسة على الطاولة، أو يشير إلى داخل الحقيبة. يجب أن يظل الجزء الأمامي والخلفي من العدسة موجودًا على أغطيةهما. وهذا يترك العنصر الخلفي، الذي لا يزال مغطى بالغطاء الخلفي، متجهًا للأعلى.

        أما بالنسبة للعدسة الموجودة حاليًا على كاميرتك، فقد حان الوقت لوضع غطاء العدسة، وتهيئة غطاء العدسة للتخزين، وسحب العدسة إذا كانت ممتدة.

        من الأفضل تقليل الوقت الذي يتعرض فيه العنصر الخلفي للعدسة والحجرة الداخلية للكاميرا للبيئة. ولكن بمجرد الانتهاء من الاستعدادات المذكورة أعلاه، قم بإزالة الغطاء الخلفي من العدسة.

        ضع العدسة الجديدة ووجهها لأسفل على طاولة أو في حقيبتك. قلل مقدار الوقت الذي يتعرض فيه العنصر الخلفي.


        3. Prepare for the Lens Change


        Once you’ve made the most of your surroundings, it’s time to set up the lenses that you’ll be switching. Fancy chefs would refer to this step as mise en place, or “putting in place.”

        To get your new lens ready, I recommend placing it face-down so that the front of the lens is on the table, or pointing into the bag. Both the front and back of the lens should still have on their caps. This leaves the rear element, still covered by the rear cap, facing up.

        As for the lens that’s currently on your camera, now’s the time to put on the lens cap, configure the lens hood for storage, and retract the lens if it extends.

        It’s better better to minimize the time that a lens’s rear element, and a camera’s internal chamber, are exposed to the environment. But once you’ve finished the preparations above, go ahead and remove the rear cap from your lens.
        Put the new lens face down on a table or in your bag. Minimize the amount of time that the rear element is exposed.

        تعليق


        • #5

          4. قم بإزالة العدسة الحالية

          حان الوقت لإزالة العدسة الموجودة على الكاميرا. تأكد من إيقاف تشغيل الكاميرا وأن لديها الوقت الكافي لتشغيل أي إجراءات تنظيف للمستشعر. ثم اضغط على زر تحرير العدسة الموجود بالكاميرا.

          زر التحرير لإزالة العدسة في كاميرا Nikon Z7

          باستخدام يدك الأخرى، قم بتدوير العدسة في الحامل من الوضع الآمن إلى الوضع غير الآمن. غالبًا ما يتم تمييز هذه البقع بنقاط أو مؤشرات على كل من العدسة وجسم الكاميرا. قبل الدوران، تأكد من إمساك العدسة بإحكام. هذه هي منطقة الخطر الأكبر لإسقاط المعدات.

           تم الآن تدوير العدسة إلى الوضع غير الآمن

          أمسك العدسة بقوة، ووجه الكاميرا نحو الأرض لتقليل كمية الغبار التي يمكن أن تدخل الحجرة. اسحب العدسة برفق بعيدًا عن الكاميرا وضعها على الطاولة أو في حقيبتك، مع رفع العنصر الخلفي للأعلى. يمكنك الآن وضع الغطاء الخلفي على العدسة التي قمت بإزالتها للتو، ولكن كن سريعًا في ذلك.


          4. Remove Your Current Lens


          It’s time to remove the lens that’s on your camera. Make sure your camera is powered off and has had time to run any sensor cleaning routines. Then, depress the lens release button on your camera.
          The release button to remove a lens on the Nikon Z7
          With your other hand, rotate your lens in the mount from the secured to unsecured position. These spots are often marked with dots or indicators on both the lens and camera body. Before turning, make sure you have a firm grip on the lens. This is the biggest danger-zone for dropping gear.
          The lens has now been rotated to the unsecured position
          Holding the lens firmly, face the camera toward the ground in order to reduce the amount of dust that can enter the chamber. Gently pull the lens away from the camera and put it down on the table or in your bag, with the rear element sticking up. You can now put the rear cap on the lens that you just removed, but be quick about it.

          تعليق


          • #6
            5. تبديل العدسات

            أولويتك الآن هي وضع العدسة الجديدة على الكاميرا بسرعة نسبية لتقليل الوقت الذي يمكن أن يصل فيه الغبار إلى الكاميرا. التقط العدسة الجديدة، مع ملاحظة موضع علامة التثبيت. قم بضبط زاوية الزاوية بحيث تتطابق النقطة الموجودة على العدسة مع النقطة الموجودة على الكاميرا. ثم ارفع العدسة الجديدة نحو الكاميرا.

            التقط العدسة الجديدة

            الآن يمكنك توصيل الاثنين بلطف. إذا قمت بمحاذاة النقطتين، فيجب أن تتلاءم العدسة مع الكاميرا بسلاسة ولا تتطلب قوة كبيرة لتثبيتها. قم بتدوير العدسة في موضعها (في اتجاه عقارب الساعة في بعض الكاميرات، وعكس اتجاه عقارب الساعة في كاميرات أخرى) وتأكد من ثباتها في مكانها. ستنقر معظم أجسام الكاميرات أو تقدم دليلاً آخر مسموعًا أو ملموسًا.

             قم بمحاذاة العدسة وتوصيلها بالكاميرا

            بمجرد تثبيت العدسة الجديدة في مكانها بأمان، يمكنك ترك العدسة.

            بعد التدوير إلى وضع القفل، قمت بتغيير العدسة بنجاح!


            5. Swap Lenses


            Now your priority is to put the new lens on your camera relatively fast to minimize the time that dust can get into your camera. Pick up the new lens, noting the position of the mounting mark. Angle it so that the dot on the lens matches the dot on the camera. Then, bring the new lens up toward the camera.
            Pick up the new lens
            Now you can connect the two of them gently. If you’ve aligned the two dots, the lens should fit onto the camera smoothly and not require significant force to attach. Rotate the lens into position (clockwise on some cameras, counter-clockwise on other cameras) and make sure that it’s firmly in place. Most camera bodies will click or provide another audible or tactile clue.
            Align the lens and connect it to the camera
            Once your new lens is securely in position, you can let go of the lens.
            After rotating to the locked position, you’ve successfully changed lens!

            تعليق


            • #7
              6. قم بتأمين حقيبة الكاميرا الخاصة بك

              بمجرد قيامك بتبديل العدسات، فقد حان الوقت للانتهاء من عدساتك القديمة وحقيبتك. ضع العدسة بعيدًا بشكل صحيح واغلق حقيبتك. قم بتخزين أي ملحقات مثل أقمشة العدسات أو نافخات الغبار التي كنت تستخدمها. ثم قم فقط بإزالة غطاء العدسة الموجود على عدستك الجديدة وابدأ في التقاط الصور!


              6. Secure Your Camera Bag


              Once you’ve swapped lenses, it’s time to finish up with your old lens and bag. Put the lens away properly and zip up your bag. Stow any accessories like lens cloths or dust blowers that you were using. Then just remove the lens cap on your new lens and start taking pictures!

              تعليق


              • #8
                نصائح إضافية

                إحضار قطع الغيار

                أحب دائمًا الاحتفاظ بالأغطية الاحتياطية في حقيبة الكاميرا الخاصة بي - سواء أغطية العدسات الأمامية/الخلفية، بالإضافة إلى أغطية جسم الكاميرا. يمكن أن يكون ذلك مفيدًا إذا فقدت أو أسقطت الحد الأقصى الحالي الخاص بك. يعد وضع غطاء رملي مرة أخرى على العدسة هو أسوأ شيء يمكنك القيام به للحفاظ على نظافة معداتك وعملها، حيث أن واجهة الجسم والعدسة بها وصلات إلكترونية وميكانيكية دقيقة يجب أن تظل نظيفة.

                لا تتعجل في العملية

                كلما رأيت أو قرأت عن مصورين آخرين يواجهون مشكلات مع معدات السقوط، فإن السيناريوهين اللذين يظهران دائمًا هما تغيير العدسة وتركيب الكاميرا على حامل ثلاثي الأرجل. يمكنك منع الكثير من الضرر في كلتا الحالتين من خلال قضاء بضع ثوانٍ إضافية للقيام بالأشياء بشكل صحيح.

                احمل كاميرا احتياطية

                في المواقف المهنية سريعة الحركة، قد يكون الخيار الأفضل هو حمل هيكل كاميرا ثانٍ وربط عدسات مختلفة بهما. وهذا ما أفعله دائمًا في الظروف الصحراوية العاصفة، حيث لا يكون من الممكن تغيير العدسات. يحمل الكثير من مصوري حفلات الزفاف والمناسبات كاميرتين أو أكثر لنفس السبب.


                Extra Tips

                Bring Spares


                I always like to keep spare caps in my camera bag – both front/rear lens caps, as well as camera body caps. These can come in handy if you lose or drop your existing cap. Putting a gritty cap back onto a lens is just about the worst thing you can do for keeping your gear clean and functional, as the body and lens interface has delicate electronic and mechanical connections that have to stay clean.
                Don’t Rush the Process


                Whenever I’ve seen or read about other photographers having issues with dropped gear, the two scenarios that always jump out are lens changes and mounting the camera on a tripod. You can prevent a lot of damage in both situations by taking a few extra seconds to do things right.
                Carry a Backup Camera


                In fast-moving professional situations, the best option can be to carry a second camera body and attach different lenses to both of them. This is what I always do in windy desert conditions, where changing lenses is not possible. Lots of wedding and event photographers carry two or more cameras for the same reason.

                تعليق

                يعمل...
                X