
 تويت
تويت
أفضل تصميم للكمبيوتر الشخصي لتلبية احتياجات التصوير الفوتوغرافي
The Ultimate PC Build for Photography Needs
Thanks to the super high-resolution sensors we see today in digital cameras, a fast computer is absolutely essential for an efficient post-processing workflow when working with RAW images. If a few years back a standard PC or a mid-range laptop was good enough for post-processing images, 30+ MP RAW files can put a huge burden on processing power and make a high-end machine seem obsolete. In addition, most commercial software targeted at professionals has also gotten pretty heavy, requiring more memory, faster storage and high-end CPUs and GPUs for a smooth, delay-free experience. Having spent most of my adult life in information technology, I have always been building my own PCs. In my recent articles and reviews of storage equipment, a number of our readers asked me to share my preferences for a solid, future-proof PC build that could take pretty much anything you throw at it for post-processing large numbers of RAW images and video. In this article, I want to talk about the ultimate PC build for photography and other needs, and discuss my personal preferences for working with Lightroom catalogs and RAW files in terms of file management and performance optimization.
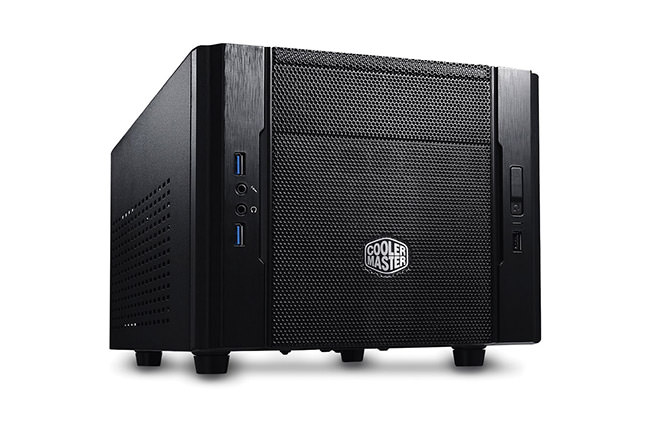
I will be presenting two different builds – one based on a full tower case, which gives a lot of flexibility in terms of space, storage and future expansion options, and one based on a very compact build for a lightweight setup that occupies minimum space. Although I have always been using large cases, I have been leaning towards more compact options lately – primarily because it is now possible to build small, but powerful machines.
Here is how you can build a powerful PC for Photography Needs:
We will go through the above steps in the next pages, depending on the type of PC build you want to make. Please keep in mind that components for the older builds might no longer be available, but if that’s the route you want to take for whatever reason, you should be able to buy them on the second-hand market for a very low price.
بفضل المستشعرات فائقة الدقة التي نراها اليوم في الكاميرات الرقمية، يعد الكمبيوتر السريع ضروريًا للغاية لسير عمل فعال بعد المعالجة عند العمل مع صور RAW. إذا كان جهاز الكمبيوتر الشخصي القياسي أو الكمبيوتر المحمول متوسط المدى قبل بضع سنوات جيدًا بما يكفي لصور ما بعد المعالجة، فإن ملفات RAW التي تزيد عن 30 ميجابكسل يمكن أن تضع عبئًا كبيرًا على قوة المعالجة وتجعل الجهاز المتطور يبدو قديمًا. بالإضافة إلى ذلك، أصبحت معظم البرامج التجارية التي تستهدف المحترفين ثقيلة جدًا، وتتطلب المزيد من الذاكرة وتخزينًا أسرع ووحدات معالجة مركزية ووحدات معالجة رسومات متطورة للحصول على تجربة سلسة وخالية من التأخير. بعد أن أمضيت معظم حياتي في مجال تكنولوجيا المعلومات، كنت أقوم دائمًا ببناء أجهزة الكمبيوتر الشخصية الخاصة بي. في مقالاتي ومراجعاتي الأخيرة لمعدات التخزين، طلب مني عدد من قرائنا مشاركة تفضيلاتي لجهاز كمبيوتر شخصي قوي ومقاوم للمستقبل ويمكن أن يأخذ أي شيء تقريبًا من أجل المعالجة اللاحقة لأعداد كبيرة من صور RAW و فيديو. في هذه المقالة، أريد أن أتحدث عن التصميم النهائي للكمبيوتر الشخصي للتصوير الفوتوغرافي والاحتياجات الأخرى، ومناقشة تفضيلاتي الشخصية للعمل مع كتالوجات Lightroom وملفات RAW فيما يتعلق بإدارة الملفات وتحسين الأداء.
سأقدم مبنيين مختلفين - أحدهما يعتمد على علبة برجية كاملة، مما يوفر الكثير من المرونة من حيث المساحة والتخزين وخيارات التوسعة المستقبلية، والآخر يعتمد على بناء مدمج للغاية لإعداد خفيف الوزن يشغل الحد الأدنى من المساحة. على الرغم من أنني كنت أستخدم دائمًا الصناديق الكبيرة، إلا أنني كنت أميل نحو خيارات أكثر إحكاما مؤخرًا - ويرجع ذلك أساسًا إلى أنه من الممكن الآن بناء آلات صغيرة ولكن قوية.
إليك كيفية إنشاء جهاز كمبيوتر قوي لتلبية احتياجات التصوير الفوتوغرافي:
اختر أحدث مجموعة شرائح ووحدة المعالجة المركزية اختر مبرد وحدة المعالجة المركزية اختر اللوحة الأم الغنية بالميزات اختر ذاكرة الوصول العشوائي السريعة (32 جيجابايت على الأقل) اختر محرك M.2 PCIe NVMe للتخزين الأساسي أضف تخزين SSD / HDD للصور اختر بطاقة فيديو سريعة بما فيه الكفاية اختر PSU قوي وفعال اختر حافظة ذات حجم مناسب، اختر شاشة IPS
سنتبع الخطوات المذكورة أعلاه في الصفحات التالية، اعتمادًا على نوع جهاز الكمبيوتر الذي تريد إنشاءه. يرجى أن تضع في اعتبارك أن مكونات الإصدارات الأقدم قد لا تكون متاحة بعد الآن، ولكن إذا كان هذا هو الطريق الذي تريد اتباعه لأي سبب من الأسباب، فيجب أن تكون قادرًا على شرائها من سوق السلع المستعملة بسعر منخفض جدًا.
The Ultimate PC Build for Photography Needs
Thanks to the super high-resolution sensors we see today in digital cameras, a fast computer is absolutely essential for an efficient post-processing workflow when working with RAW images. If a few years back a standard PC or a mid-range laptop was good enough for post-processing images, 30+ MP RAW files can put a huge burden on processing power and make a high-end machine seem obsolete. In addition, most commercial software targeted at professionals has also gotten pretty heavy, requiring more memory, faster storage and high-end CPUs and GPUs for a smooth, delay-free experience. Having spent most of my adult life in information technology, I have always been building my own PCs. In my recent articles and reviews of storage equipment, a number of our readers asked me to share my preferences for a solid, future-proof PC build that could take pretty much anything you throw at it for post-processing large numbers of RAW images and video. In this article, I want to talk about the ultimate PC build for photography and other needs, and discuss my personal preferences for working with Lightroom catalogs and RAW files in terms of file management and performance optimization.
I will be presenting two different builds – one based on a full tower case, which gives a lot of flexibility in terms of space, storage and future expansion options, and one based on a very compact build for a lightweight setup that occupies minimum space. Although I have always been using large cases, I have been leaning towards more compact options lately – primarily because it is now possible to build small, but powerful machines.
Here is how you can build a powerful PC for Photography Needs:
- Choose the Latest Chipset and CPU
- Choose a CPU cooler
- Choose a feature-rich Motherboard
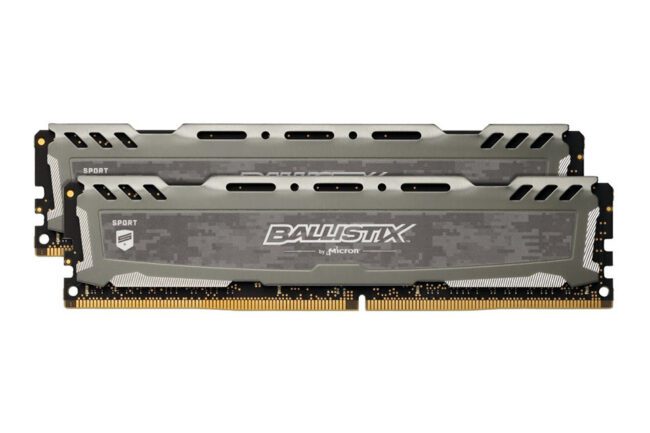
- Choose fast RAM (at least 32 GB)
- Choose M.2 PCIe NVMe Drive for primary storage
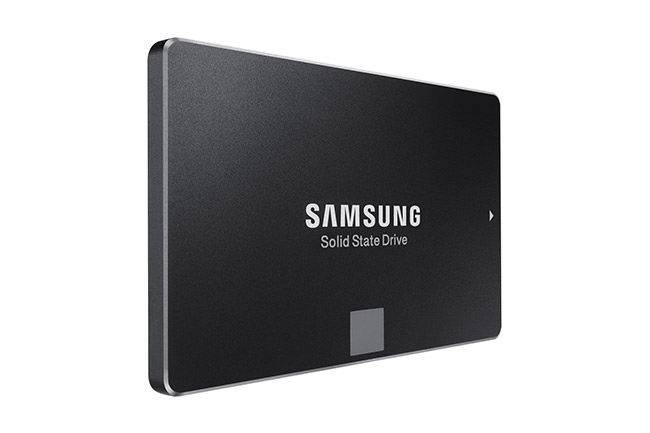
- Add SSD / HDD Storage for photos
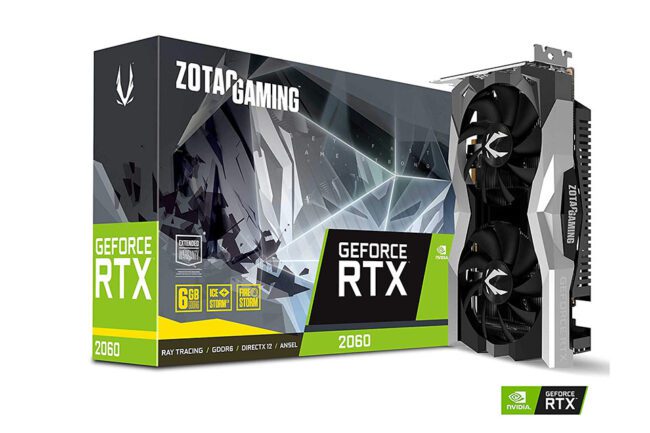
- Pick a fast-enough Video Card
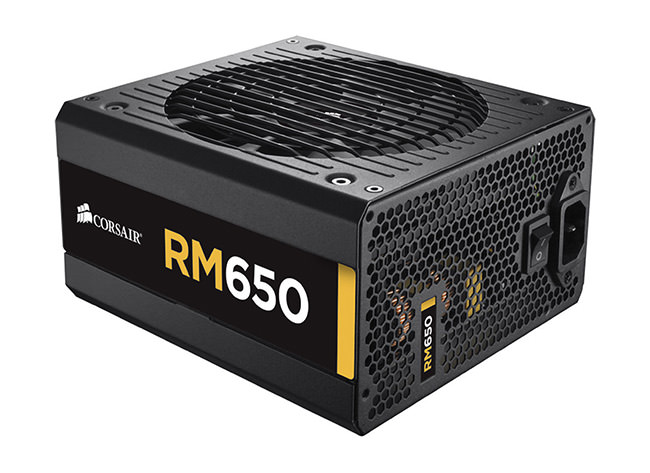
- Choose a powerful and efficient PSU
- Choose the right size Case
- Choose an IPS Monitor
We will go through the above steps in the next pages, depending on the type of PC build you want to make. Please keep in mind that components for the older builds might no longer be available, but if that’s the route you want to take for whatever reason, you should be able to buy them on the second-hand market for a very low price.
بفضل المستشعرات فائقة الدقة التي نراها اليوم في الكاميرات الرقمية، يعد الكمبيوتر السريع ضروريًا للغاية لسير عمل فعال بعد المعالجة عند العمل مع صور RAW. إذا كان جهاز الكمبيوتر الشخصي القياسي أو الكمبيوتر المحمول متوسط المدى قبل بضع سنوات جيدًا بما يكفي لصور ما بعد المعالجة، فإن ملفات RAW التي تزيد عن 30 ميجابكسل يمكن أن تضع عبئًا كبيرًا على قوة المعالجة وتجعل الجهاز المتطور يبدو قديمًا. بالإضافة إلى ذلك، أصبحت معظم البرامج التجارية التي تستهدف المحترفين ثقيلة جدًا، وتتطلب المزيد من الذاكرة وتخزينًا أسرع ووحدات معالجة مركزية ووحدات معالجة رسومات متطورة للحصول على تجربة سلسة وخالية من التأخير. بعد أن أمضيت معظم حياتي في مجال تكنولوجيا المعلومات، كنت أقوم دائمًا ببناء أجهزة الكمبيوتر الشخصية الخاصة بي. في مقالاتي ومراجعاتي الأخيرة لمعدات التخزين، طلب مني عدد من قرائنا مشاركة تفضيلاتي لجهاز كمبيوتر شخصي قوي ومقاوم للمستقبل ويمكن أن يأخذ أي شيء تقريبًا من أجل المعالجة اللاحقة لأعداد كبيرة من صور RAW و فيديو. في هذه المقالة، أريد أن أتحدث عن التصميم النهائي للكمبيوتر الشخصي للتصوير الفوتوغرافي والاحتياجات الأخرى، ومناقشة تفضيلاتي الشخصية للعمل مع كتالوجات Lightroom وملفات RAW فيما يتعلق بإدارة الملفات وتحسين الأداء.
سأقدم مبنيين مختلفين - أحدهما يعتمد على علبة برجية كاملة، مما يوفر الكثير من المرونة من حيث المساحة والتخزين وخيارات التوسعة المستقبلية، والآخر يعتمد على بناء مدمج للغاية لإعداد خفيف الوزن يشغل الحد الأدنى من المساحة. على الرغم من أنني كنت أستخدم دائمًا الصناديق الكبيرة، إلا أنني كنت أميل نحو خيارات أكثر إحكاما مؤخرًا - ويرجع ذلك أساسًا إلى أنه من الممكن الآن بناء آلات صغيرة ولكن قوية.
إليك كيفية إنشاء جهاز كمبيوتر قوي لتلبية احتياجات التصوير الفوتوغرافي:
اختر أحدث مجموعة شرائح ووحدة المعالجة المركزية اختر مبرد وحدة المعالجة المركزية اختر اللوحة الأم الغنية بالميزات اختر ذاكرة الوصول العشوائي السريعة (32 جيجابايت على الأقل) اختر محرك M.2 PCIe NVMe للتخزين الأساسي أضف تخزين SSD / HDD للصور اختر بطاقة فيديو سريعة بما فيه الكفاية اختر PSU قوي وفعال اختر حافظة ذات حجم مناسب، اختر شاشة IPS
سنتبع الخطوات المذكورة أعلاه في الصفحات التالية، اعتمادًا على نوع جهاز الكمبيوتر الذي تريد إنشاءه. يرجى أن تضع في اعتبارك أن مكونات الإصدارات الأقدم قد لا تكون متاحة بعد الآن، ولكن إذا كان هذا هو الطريق الذي تريد اتباعه لأي سبب من الأسباب، فيجب أن تكون قادرًا على شرائها من سوق السلع المستعملة بسعر منخفض جدًا.
تعليق