
 تويت
تويت
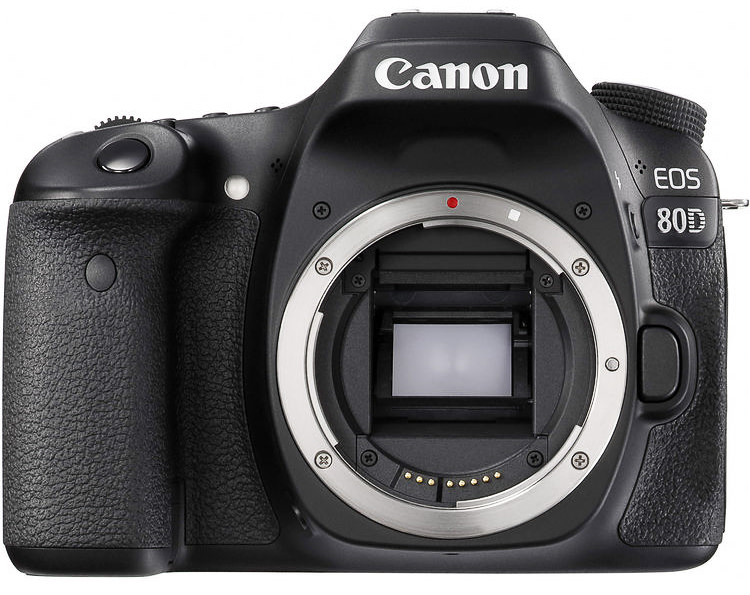
الاعدادات الموصى بها لكاميرة كانون ايتي دي
Recommended Canon 80D Settings
The Canon 80D has a complex menu that can easily confuse photographers, especially first-time Canon users. In this article, I’ll cover every camera setting on the Canon 80D and explain how to set each one properly. Although these are just my personal recommendations, the settings below are a much better starting point than Canon’s default menu settings.
تحتوي كاميرا Canon 80D على قائمة معقدة يمكن أن تربك المصورين بسهولة، وخاصة مستخدمي Canon لأول مرة. في هذه المقالة، سأغطي كل إعدادات الكاميرا في Canon 80D وأشرح كيفية ضبط كل إعداد بشكل صحيح. على الرغم من أن هذه مجرد توصياتي الشخصية، إلا أن الإعدادات أدناه تمثل نقطة بداية أفضل بكثير من إعدادات القائمة الافتراضية لشركة Canon.

تعليق